Wednesday, July 24, 2013

Disaster Watch 2013: Redwood Planter

Hope you're not too addicted to my Backyard Disaster Zone tales of woe, because they are rapidly approaching an end! Last weekend, my dad and I (with the help of Jose from Home Depot) installed a brand new sprinkler system in the backyard! Huzzah!

Next major step will be sod, but there are a few little plantings I want to get done before then. And my dad (God bless him, he just has a way of creating more work for himself) had the brilliant idea to add a raised redwood planter along the walkway to Garrett's studio. Genius!

Through some divine DIY karma, the planter area was exactly twelve feet long. Which meant that we were able to buy twelve foot boards, and not have to cut anything other than the sides. We decided to make the planter eighteen inches deep, basically just for logistical reasons - we would be able to get eight pieces out of one board, so we made our planter four boards high. Bringing our grand total of materials to just nine 12 ft redwood boards - everything else we already had on hand.


Now, I realize this view of the backyard isn't exactly inspiring, but let's take a moment to ponder where we came from...


We've come a long way, baby!

Tuesday, June 25, 2013

Neighborhood Watch

We had some excitement in the neighborhood today! Early this morning, a man apparently shot at two police officers who were pulling into the police station just up the street from my house. The officers weren't seriously injured, but that didn't stop the police from locking down our neighborhood and conducting an all-out manhunt from 4:30 am until about 4:45 pm. 

Helicopters circled a 25 block radius, while armed SWAT team members marched up and down the street, searching every backyard with German Shepards. Check out the video that my security camera caught!


At least this time my yard didn't have a toilet in it!


With nothing else to do for twelve hours (daytime tv only holds one's attention for so long), we basically just sat in front of the big living room window and watched the big scary police vans roll by. 


Toward the end of the search, when the police seemed to be giving up all hope, Garrett and one of the neighbors spotted a man who matched the suspect's description enter the apartment building two doors down. Like ducks on a june bug, the coppers swarmed the street, walked everyone out of the building, and arrested the suspicious character.


Then they were gone, just as suddenly as they had come! People kept asking me if I was terrified, and I have to say, it wasn't nearly as scary as the last time. If nothing else, at least I was surrounded by police officers all day - it was probably the safest street in the city!

Still, I have to admit, the situation does beg the question. Is it time to move?

Saturday, May 18, 2013

DIY Pallet Succulent Garden

Anyone with a Pinterest account can tell you that pallet creations are all the rage. People are making all kinds of things out of them - coffee tables, headboards, lounge chairs, wine racks, book shelves, porch swings... the list goes on and on. But perhaps the most enduring pallet craft is the succulent garden. 

But as common as this project is, I couldn't find a very informative tutorial on just how to make one!  So I figured the best way to learn to make one of these is just to go ahead and do it. 

Here are the materials you need:

  1. A pallet - try to find one in relatively good condition - the boards should be anchored strongly, not too much splintering
  2. Lanscape fabric - this is pretty cheap, you can pick up a big roll of it at a home improvement store for about $10 (and you'll have a ton left over - better to find a friend with some spare landscape fabric lying around)
  3. Planting soil
  4. An appealing array of succulents
  5. A staple gun
If you're planning to hang your planter on a wall, like I did, you'll also need:
  1. A good drill (with a masonry bit, if you put it on cinderblocks like I did)
  2. Long screws (again, masonry screws were called for here)
  3. A board that is sized to the width and depth of the pallet (and /or a saw to cut the board to size)
  4. Wood screws
Cut the landscape fabric to size, slightly bigger than the back of the pallet. Use your staple gun to securely staple the fabric to the back, folding in your edges so it's a little tidier and sturdier when stapling. Don't be stingy with the staples - there will be some weight on this, and you want a pretty complete line of staples to prevent dirt from seeping out.

Leave the top of the planter open (i.e., not wrapped in fabric), but bring the fabric over the bottom opening and secure it with more staples. Then attach the board to the bottom with the wood screws (necessary if hanging the planter, but not if you're planning on letting it sit on a solid surface).

Rest the pallet on the fabric side, and fill with planting soil, making sure it's pretty well packed behind the boards. Plant your succulents in the openings, and pack the soil tightly around them. I found it's better to use a succulent with a smaller base and a fuller top, so less dirt will fall out when you turn it vertical. Don't plant the top yet!

Once you're done, turn the planter (slowly) on it's side, and mount it to the wall with the appropriate screws. If you're feeling fancy, a french cleat would really do the trick here. I did not use a french cleat.

Once your pallet is firmly secured to the wall, plant the top opening, and there you have it!


Also, a quick watering tip: use a hose, set to "shower" or "mist". It's really hard to get a watering can into the different planter beds. I sort of wish I had the whole thing on a piano hinge, so I could lift it horizontally to water it!

Saturday, April 27, 2013

Where Once Was a Window

One of my favorite parts of the new deck is this area right outside my bedroom door. Once upon a time it was just the top of the driveway, used to store trashcans and other assorted demo debris. But now it's a private little nook, just waiting to be given a purpose.


When I asked my brother, Monty, to build me a gate on the other side of my bedroom window, I was really just setting him up for the eventual request to replace that window with a door. And being the awesome guy that he is, this weekend he kindly obliged. 

First, the old window had to go. 


Then the scary part - cutting out the wall!


In a crazy stroke of luck, the window was almost exactly the right width and height for the door replacement. Only very minor adjustments had to be made.


Oh boy, that pic probably should have been censored...


And voila! Door is in! A little trim work, patch, plaster, and paint, and I officially have a walk out from my bedroom! And just check out the exterior...


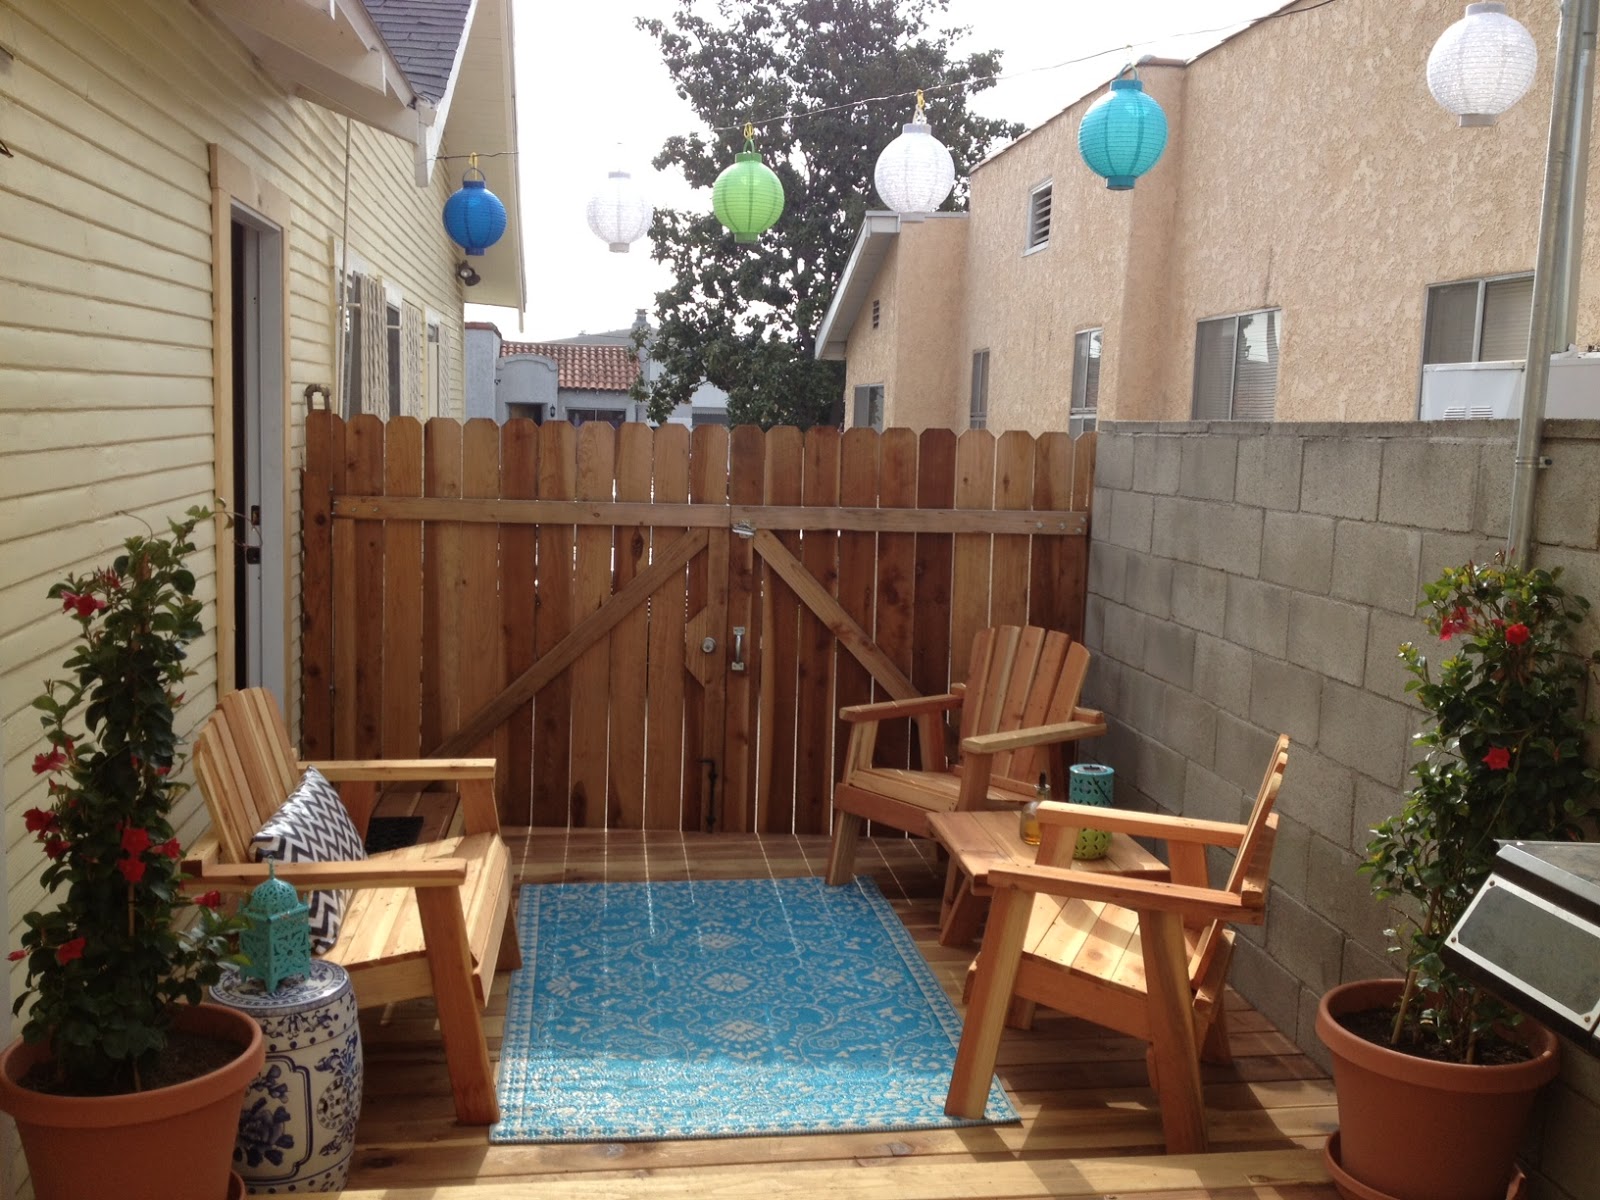
Too freaking cute! And here is the overall view, all dressed up for a Sunday BBQ...
 

The rest of the backyard is still a disaster, but I love that I now have one (small) outdoor space that is officially finished. It makes me so motivated to get the rest done!!

Discovering the Morey Mansion

I was driving down a quiet, orange tree-lined street in Redlands the other day when I spotted a for sale sign at the end of a driveway. As I always do, I slowed down to take a look, expecting the 1950s ranch style home that is popular in that area. Imagine my astonishment when this was staring back at me.

Hello gorgeous!

I quickly Redfinned it, and the pictures of the inside did not disappoint. Check them out here

I decided to do a little more research on the house, just out of curiosity, and it turns out it is not only famous (was used as a filming location in Talk About A Stranger, in 1952), but is also haunted! Maybe the ghost upkeep is very expensive, because the owners also seem to be financially troubled. I'm not at all surprised that they're being forced to sell due to bankruptcy, just looking at that place made my bank account whimper. 

If you're looking to move to Redlands and have $1.6M to spare, check this place out. Maybe you can get the ghost to move to the pool house?

Saturday, March 16, 2013

Awfully Big Deck You Got There


When my parents and I walked through my house, before I bought it, the first thing my mom said was "I would rip down this patio cover and open this all up." At the time I thought she was crazy. First of all, SHADE! Secondly, it's a covered outdoor space, who doesn't love that? 

Two and a half years later, I am willing to admit my mom was right (didya hear that Mom??). The roof had gotten progressively leakier over the years, not to mention sustained quite a bit of termite damage. And the cement floor was severely sloped (toward the house), so if I ever wanted to level it out, it would mean the roof would be incredibly low on one side. I finally decided to give up putting lipstick on the pig, and just take it all down.

Here is the before...


I'm not going to lie, this was way more work that I expected. The roof was tarred right up to the siding of the house, so taking that down meant damaging quite a bit of the siding. And then about a third of the cement floor had to be chipped up and thrown into a dumpster (such back-breaking work), just so we could make a level frame for the deck. 

Once that groundwork was laid, the actual decking went in pretty quickly, thanks to this handy tool


Not only does it help people who are not that great at drilling screws in straight (ahem), but it also puts the screws into the sides of the board, so they're hidden. And check out the results!


Pretty fancy, eh? It's amazing how much brighter the space is - it feels like a whole new backyard!

Friday, February 1, 2013

DIY West Elm style pouf

I love these dhurrie poufs, at West Elm. I dunno why exactly, it's like all the fun of a bean bag, but with the sophistication of an ottoman. I mean, how cute is this?


But I don't love the $249 price tag. For that price, I could get a real piece of furniture!

So one day I was eyeballing my old memory foam mattress topper and wondering what the heck I should do with it, when it hit me - I should make a pouf!

I used my electric bread knife to cut the foam into 24 inch squares, and then layered them all on top of each other, like a layer cake (using spray adhesive where the frosting would go). I had to clean up the edges a little bit, as (much like my layer cakes) my 7 layers were a little lopsided.

Then wrapped the whole thing in a layer of batting, and used an old mattress cover to make a little pillow case for the stack of foam. This will keep it nice and tidy inside the final slip cover, and disguise any unevenness in the edges of the foam.

Finally I used a dhurrie rug that I got on sale from Urban Outfitters (only $89!) as my material. It frays like a maniac, but the texture is consistent with the West Elm pouf. And unlike those other poufs, I outfitted mine with two zippers on the bottom, so that I could easily remove the cover for washing.

All in all, it only took about three and a half hours. And look how cute!


My only regret is that I had but one mattress topper to give to this craft project.