Showing posts with label before and after. Show all posts

Saturday, December 7, 2013

Before and After: Living Room Built-Ins!

Before I even bought my house, I dreamed of a Craftsman style home with built-ins surrounding the fireplace. So when I found my place, those immediately went on the to do list... after the bedrooms, kitchen, bathroom, heating / air conditioning, electrical, backyard, etc etc etc. 

More than three years later, I FINALLY got my built-ins, thanks to my big brother Monty! Here is a little reminder of the "before" (this picture is pretty old, sorry):


And here is a picture of the pre-decorated "after":


Again, apologies for not cleaning up before taking the photo. I was just so excited!

Some people (not me, obviously) were concerned that the shelves would make the room seem smaller. But since they're only 8 inches deep, and painted the same color as the walls, they didn't seem to reduce the space at all. In fact, I think the horizontal lines make the room seem wider. And I definitely have a lot more storage! Everybody wins!

A huge thank you to my brother Monty, you're the best!

Wednesday, July 24, 2013

Disaster Watch 2013: Redwood Planter

Hope you're not too addicted to my Backyard Disaster Zone tales of woe, because they are rapidly approaching an end! Last weekend, my dad and I (with the help of Jose from Home Depot) installed a brand new sprinkler system in the backyard! Huzzah!

Next major step will be sod, but there are a few little plantings I want to get done before then. And my dad (God bless him, he just has a way of creating more work for himself) had the brilliant idea to add a raised redwood planter along the walkway to Garrett's studio. Genius!

Through some divine DIY karma, the planter area was exactly twelve feet long. Which meant that we were able to buy twelve foot boards, and not have to cut anything other than the sides. We decided to make the planter eighteen inches deep, basically just for logistical reasons - we would be able to get eight pieces out of one board, so we made our planter four boards high. Bringing our grand total of materials to just nine 12 ft redwood boards - everything else we already had on hand.


Now, I realize this view of the backyard isn't exactly inspiring, but let's take a moment to ponder where we came from...


We've come a long way, baby!

Saturday, April 27, 2013

Where Once Was a Window

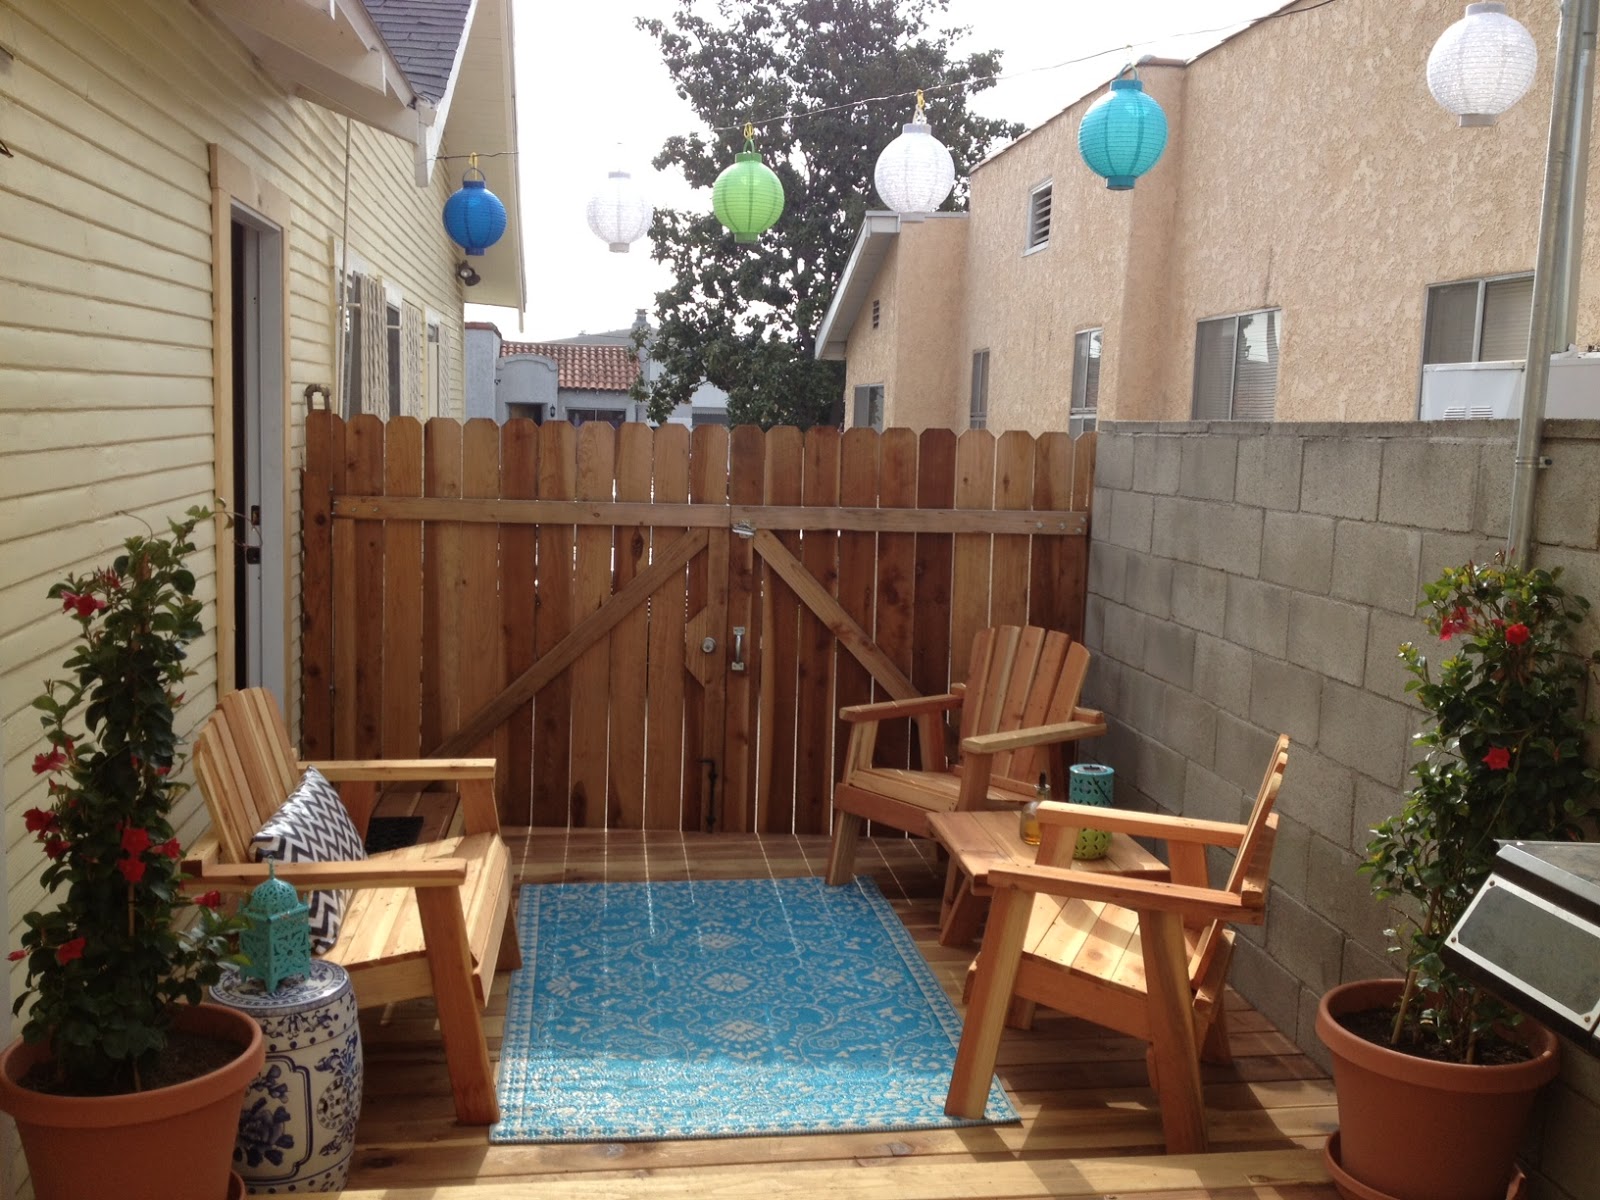
One of my favorite parts of the new deck is this area right outside my bedroom door. Once upon a time it was just the top of the driveway, used to store trashcans and other assorted demo debris. But now it's a private little nook, just waiting to be given a purpose.


When I asked my brother, Monty, to build me a gate on the other side of my bedroom window, I was really just setting him up for the eventual request to replace that window with a door. And being the awesome guy that he is, this weekend he kindly obliged. 

First, the old window had to go. 


Then the scary part - cutting out the wall!


In a crazy stroke of luck, the window was almost exactly the right width and height for the door replacement. Only very minor adjustments had to be made.


Oh boy, that pic probably should have been censored...


And voila! Door is in! A little trim work, patch, plaster, and paint, and I officially have a walk out from my bedroom! And just check out the exterior...


Too freaking cute! And here is the overall view, all dressed up for a Sunday BBQ...
 

The rest of the backyard is still a disaster, but I love that I now have one (small) outdoor space that is officially finished. It makes me so motivated to get the rest done!!

Saturday, March 16, 2013

Awfully Big Deck You Got There


When my parents and I walked through my house, before I bought it, the first thing my mom said was "I would rip down this patio cover and open this all up." At the time I thought she was crazy. First of all, SHADE! Secondly, it's a covered outdoor space, who doesn't love that? 

Two and a half years later, I am willing to admit my mom was right (didya hear that Mom??). The roof had gotten progressively leakier over the years, not to mention sustained quite a bit of termite damage. And the cement floor was severely sloped (toward the house), so if I ever wanted to level it out, it would mean the roof would be incredibly low on one side. I finally decided to give up putting lipstick on the pig, and just take it all down.

Here is the before...


I'm not going to lie, this was way more work that I expected. The roof was tarred right up to the siding of the house, so taking that down meant damaging quite a bit of the siding. And then about a third of the cement floor had to be chipped up and thrown into a dumpster (such back-breaking work), just so we could make a level frame for the deck. 

Once that groundwork was laid, the actual decking went in pretty quickly, thanks to this handy tool


Not only does it help people who are not that great at drilling screws in straight (ahem), but it also puts the screws into the sides of the board, so they're hidden. And check out the results!


Pretty fancy, eh? It's amazing how much brighter the space is - it feels like a whole new backyard!

Sunday, January 20, 2013

Craigslist Crawl: Card Catalogue!

I have always had a soft spot for old library card catalogues - something about the tiny drawers just seems so purposeful. Unfortunately (for me) the rest of the world has caught on to the romance of these pieces, and the prices are going through the roof. Stupid old supply and demand!

In one of my regular Craigslist crawls, I actually found a unit for a very respectable price, but I thought "I have too much furniture as it is... where would I even put this?... what would I put inside of it?..." and all the usual methods of talking yourself out of something you really REALLY want. Then, almost by destiny, I stumbled onto this article on Apartment Therapy. Clearly, the universe was trying to tell me something.

A few days later I drove to a remote Public Storage unit in Gardena, and came home with this little beauty...


The graininess of that Craigslist pic doesn't even show the years of dirt, tape, pen markings, and scratches that couldn't mar the potential of this gorgeous piece. I took it straight home and got to work with some Scott's Liquid Gold (which is really a miracle product) and Goo Gone. I couldn't believe how the much the wood glowed, when I was done!

I also added some simple legs from Lowes, and stained them to match the color of the cabinet.


This is totally my new favorite piece (aren't' they all, though?). And yes, I did use it to organize my life, and take back my kitchen junk drawer (which had actually expanded to two junk drawers!).


Now I have a place for every thing, and a thing for every place. Just the way I like it!

Monday, September 17, 2012

What to Do With an Ugly Floor Heater

This week has been filled with highs and lows. And I don't just mean the artificial highs I've been getting from prescription pain meds. 

Last week I went under the knife (and some lasers) to get a torn tendon repaired in my ankle. It ended up being a lot more painful than I had anticipated, and I'm supposed to be couch-bound for at least two weeks. Not exactly a vacation, but my dad and Monty did decide to get in a little housework while I'm laid up.

The biggest job will be installing the ductless heater / air conditioner unit that I purchased in a moment of heat wave induced desperation. And they couldn't have picked a better time - with these bulky bandages on my leg and not being able to take a real shower, things are going to get ripe really fast!

Now that I am getting a brand new heating system, I figured I could finally stop procrastinating about removing the horrible floor heater in my living room! I wish I had a picture of the gross metal grate that had been covering it for probably fifty years. Under that grate was a hulking old beast of a floor heater that probably hadn't worked in over a decade. How did the last owners live without heat??

Anyway, I had Monty work his magic with some scraps of hardwood flooring we had left over from the garage renovation, and look how it turned out!


Monty used his planer to take off the top layer of stain, which was a heck of a lot quicker than sanding them all down, and then measured and cut each piece individually before laying it. Pretty cool!

I rubbed on a walnut colored stain and then immediately wiped it off, to get the grain to darken like that, and then went over the patch again with a golden pecan stain and varnish in one product. The match is pretty darn close!

I knew we'd never be able to seamlessly patch the hole, so figured why try? I think this is a little more interesting anyway, and no one is scared to walk on it - what a difference!

Sunday, July 24, 2011

Kitchen Update: Finally Finished!

The day has come! It's over! The kitchen is finished! Exclamation points for all!!

It was quite the push to the finish, especially since I stupidly invited some people over for a reveal a little later this afternoon (way to give myself a deadline! why didn't I just do it next weekend??). But in reality, it's nice to have something to aim for. If you I don't have a real motivation to wrap things up, projects tend to stretch into the "I'll get around to finishing that eventually" category.

Alright, enough of my jibber-jabber! You want to see the finished product, don't you?! Let's do a before and after!


The craziest part is how clean everything looks, haha! That was no easy feat. But just check out the new sightline through to the rest of the house...


Three weeks ago, that picture would have been of a wall! It's truly an amazing transformation. Now that it's done, I sort of want to do it all over again!


Monday, February 21, 2011

Introducing Daisy

So it's going to be a while before I can decorate my kitchen and dining room, but that certainly doesn't mean I can't make headway on the rest of the house. I had my living room looking pretty cute, but then I decided to add just one more accessory. A new dog!

Meet Daisy, the 71 lb American Bulldog, rescued from the Van Nuys animal shelter. How could anyone willingly surrender that face??


I know what you're thinking, and no - she will NOT be allowed on the furniture. But it was her first night in a new home, and I decided to cut her some slack.

Unfortunately, she needs training in areas other than furniture boundaries. She was an "outdoor" dog in her last home, and was woefully negelected. She has no idea what stairs are, doesn't know how to ride in a car, can't walk on a leash, and definitely has no concept of potty training. Which I quickly discovered when she happily trotted inside, and promptly tinkled on my cream shag rug.

So now I am in the market for a new living room rug. Something in a pattern, preferably, so that it will disguise any future pet stains. Here is a pic of the now rug-less living room. It's so naked!


And just for comparison's sake, here is a "before" picture of the living room...


My last rug was an unusual dimension, 7x8.5, which was perfect for the space. For the new one, I am looking for something that size, up to 9x11.

I'll be posting links to candidates, so get your opinions ready!


Friday, December 3, 2010

A Very Vintage Bathroom

Almost as important as the bedroom, and only slightly more important than the kitchen, is the bathroom. I mean, you need a place to sleep and pee, but you can always go out for meals, right?

Fortunately, the bathroom was actually one of the smaller projects we have undertaken so far. The space is pretty well laid out as is, no need to re-plumb anything. But the fixtures were either dated, or downright nonfunctional. I think the vintage sink is adorable, but it is decidedly impractical to have separate faucets for hot and cold. Especially when the hot doesn't actually work. After 5 weeks of washing my face in cold water, I decided the time had come to do something about it.

Here, again, is the before...


The weirdly short vanity and old-fashioned sink had to go. I had wanted to add subway tile halfway up the walls on all sides, but the plaster was actually so wavy that Martin didn't think he could get a straight grout line to save his life. So we went with wood wainscoting instead. And actually (don't tell Martin), I think I like it even better.

I painted the upper half of the walls Faultline Grey in satin finish, by DutchBoy, and all the wood trim is Silver Lining semi-gloss (which is the color for all the painted trim in the house, and in eggshell for the ceilings).


The sink is American Standard, and the faucet is Kohler. I also replaced all the drawer and door hardware with satin nickel pulls from OSH, which is handily located about two blocks away. I also scraped off the yellowed window film that the old owners had applied for privacy, and replaced it with this awesome product.

I also beefed up the moulding around the medicine cabinet with some more ornate trim. And when I took the medicine cabinet door off to sand it down, I actually found a recessed mirror BEHIND the mirror the old owners applied to the top of the door. WHY? These are the mysteries that will never be solved.

Overall, I wanted a very classic look that could have been original to the house, but would function like a modern bathroom. I think I achieved that, what do you think?

Monday, May 24, 2010

Afters

Remember these Befores, from approximately one million years ago? Well, I've finally gotten around to taking the After photos. Forgive the quality, I took them in the very yellow Tungsten light of my apartment.

The chair was an easy fix - a little paint and strategically placed glue and screws, an inch of foam and some pretty fabric, and Bob's your Uncle.


The desk took a LOT more work. That thing had four layers of paint that I had to chip, scrape, and sand my way through - I even burned out the motor on my old belt sander (giving me an excuse to finally upgrade to a sleek new orbital). After three new coats of of hard-wearing exterior black paint, polished nickel cup pulls, and a bonus coat of spray paint on the under side of the glass top (gives it a high gloss, lacquered look), Fanny was FINALLY my Aunt.


Put them together, and they make a cute little vignette!


Due to the extremely limited amount of space in the Meganplex, the desk (and silver dome light shown in the last pic) are going up for sale on Seedling. Happy shopping!

End Table Before & After

If you read this blog, you should know by now that I am no stranger to flea markets and a borderline hoarder when it comes to ratty furniture with big possibilities. Years ago, I picked up this little end table at the Melrose Flea Market, and always intended to re-finish it.


You can see how beat up the finish is, and it's hard to tell, but the side was also pretty badly gauged. But underneath that, the parquetry just begged to be brought back to life. This weekend, I kindly obliged.


With the amount of puttying I had to do on the damaged side, I wasn't able to stain the entire thing. Instead I painted both sides and hind legs black, and then did the same to the ornate front feet (just because I'm lazy and didn't want to sand all those curves and crannies). But I think the two-toned effect really works with all the different hues in the wood.

What a dramatic difference, eh?

Monday, October 12, 2009

Befores

I've had some good luck junking in the last few weeks! Check out these two little diamonds in the rough that people had left out for the garbage collector:


And this little beauty was only $15 at a local flea market:


As my place gets more and more packed with "projects" I am beginning to feel a little bit like one of TLC's Hoarders. So I might have to put these items up for sale in the shop once they're done. Keep an eye out for the "Afters" post!